Appearance
Color Mask
3D render pipelines often output a color mask so each material is one flat color for selections. EDIT can generate the same kind of image from any photo with one Cheat Sheet prompt—the examples below show how surfaces group into colors.
Room
Example: Color Mask · Room


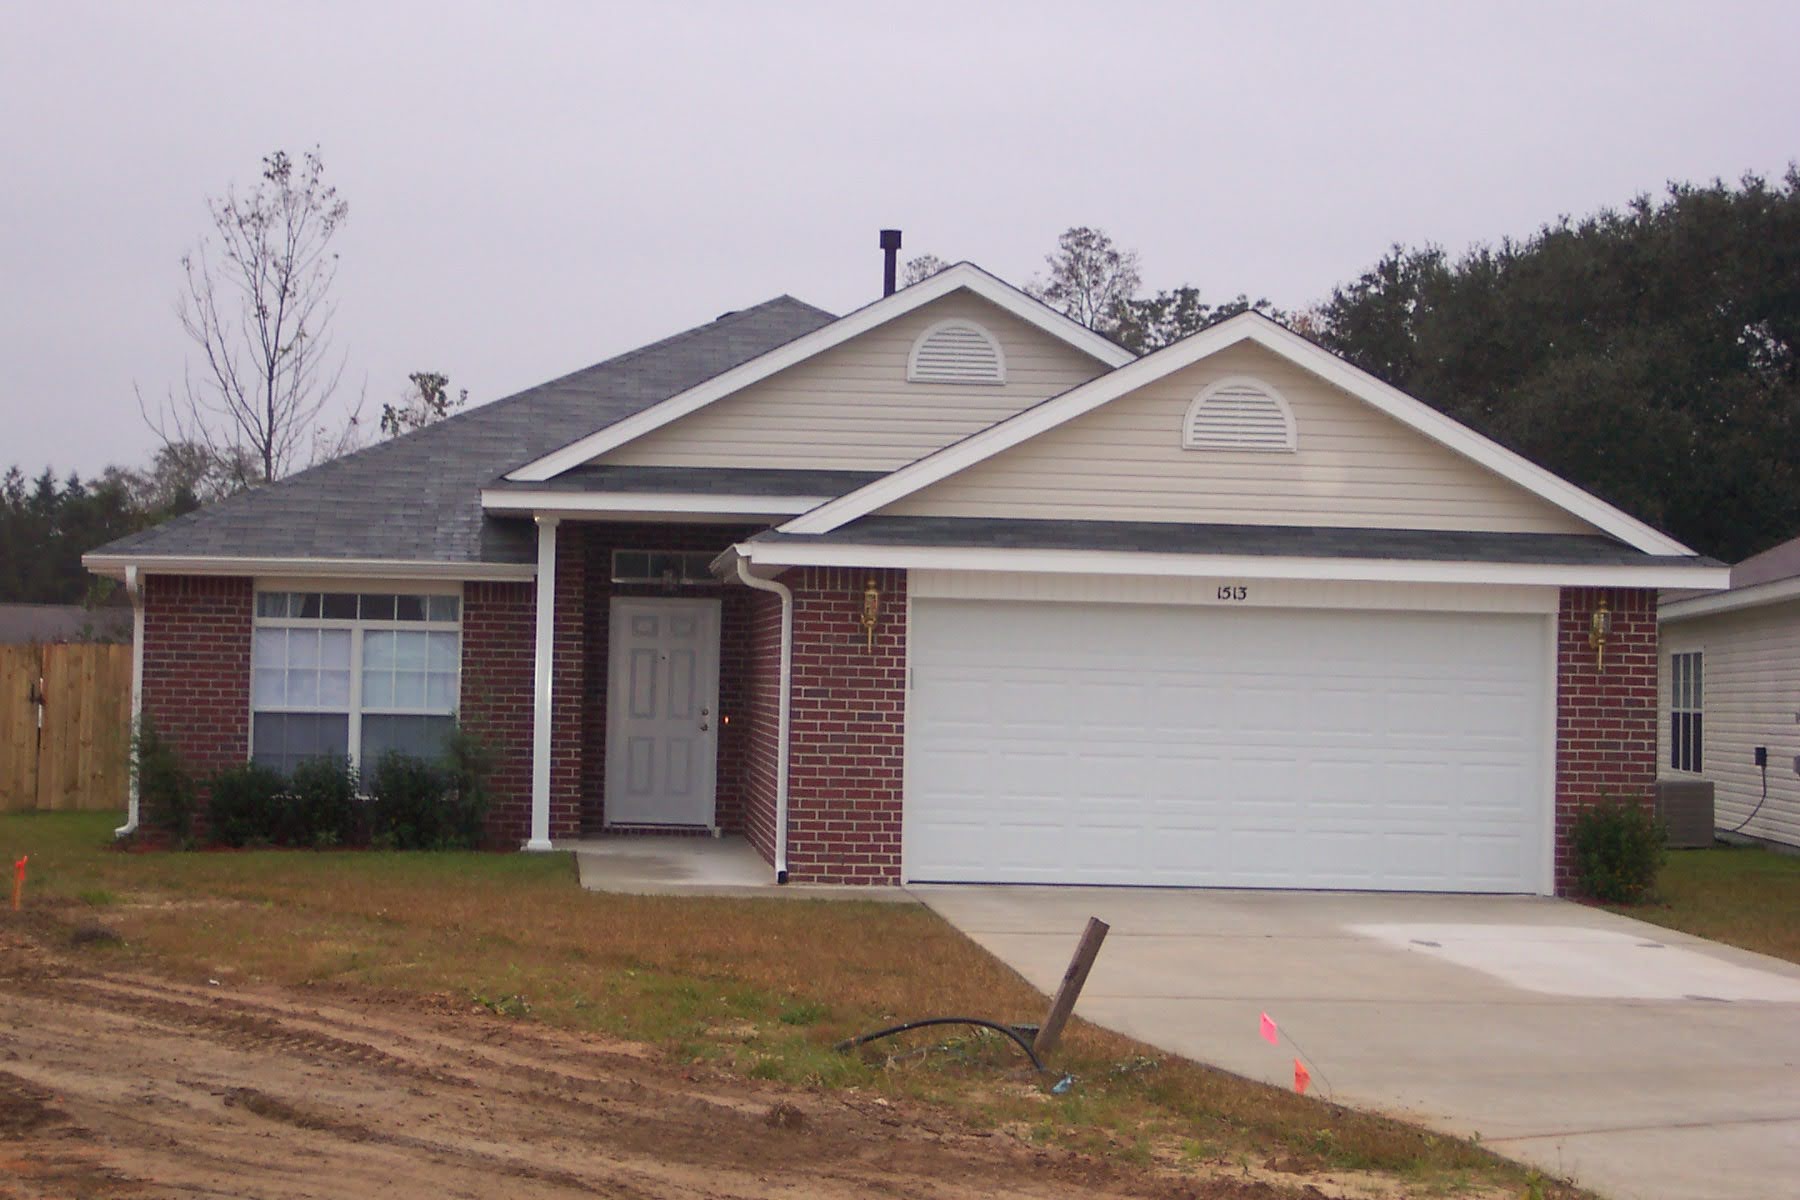
House
Example: Color Mask · House

Make one
Open Cheat Sheet, filter Styles, and choose Color Mask · Room or Color Mask · House. The prompt is the same. Paste it on any photo.
Prompt
Color mask. Flat solid colors only. No gradients, shading, or texture.

One color per material, used on every face of that material. A turned plane, a highlight, or a shadow does not get its own color.

Name each material in this image and give it one color. The same material shares that color everywhere. Different materials get different colors. Leave out any group that is not in the image. Small clutter takes the color of the surface under it.

Keep the exact geometry, perspective, and edges.
The same prompt works on any photo. To aim it at one picture, name only the materials that are actually there and keep the one-color rule.
Select an area
Open the original photo and the color mask in Photoshop or Photopea as two layers (same canvas size, aligned). On the mask layer, use the Magic Wand or Select → Color Range on one flat color. Hide the mask layer, click the photo layer, and the selection stays active on the real image. Adjust, mask, or paint on that layer only. The mask picks its own colors each time, so look at which flat color covers the roof, wall, or other area you want, select that color, and try the edit.