Appearance
Interior Floors, Cabinets & Lights
Change floors, cabinets, or lighting without restaging the whole room—or explore options on a contact sheet.

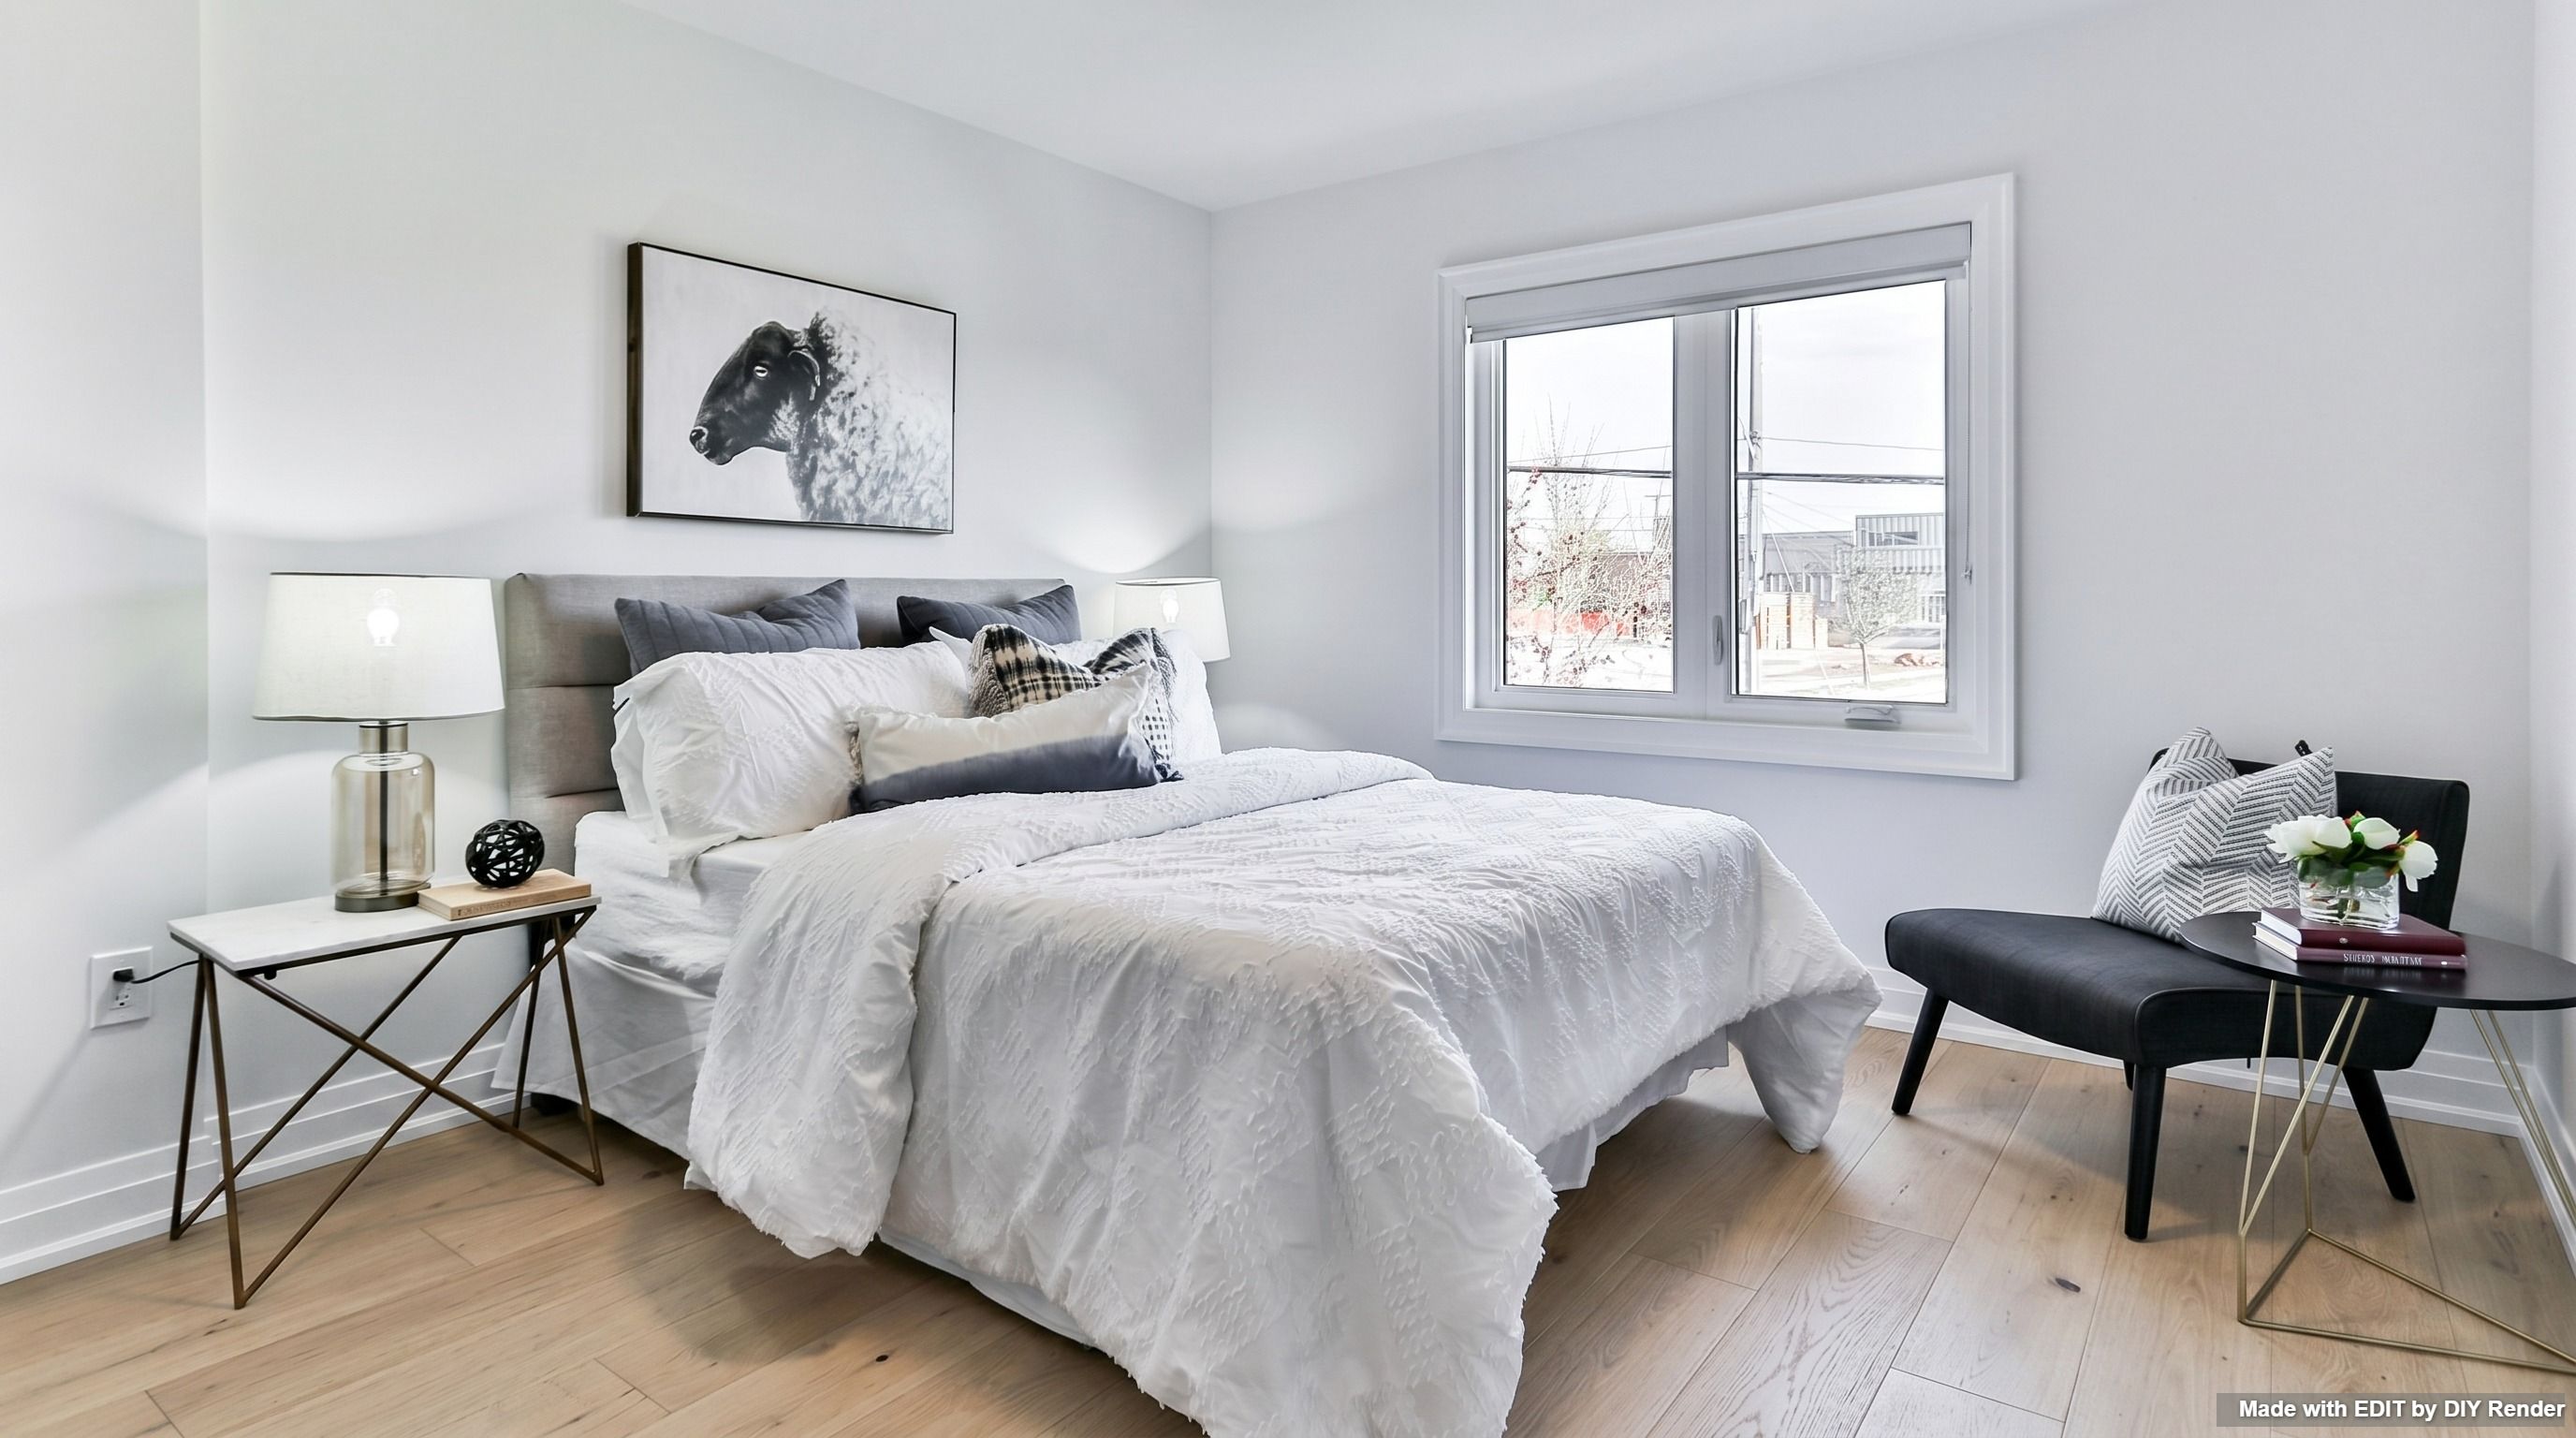
Upload your interior
Click + New. Upload a room photo with a clear floor plane—empty or furnished both work.

Use the Assistant
Open the Assistant and click a Prompt Option—or paste the flooring prompt below.
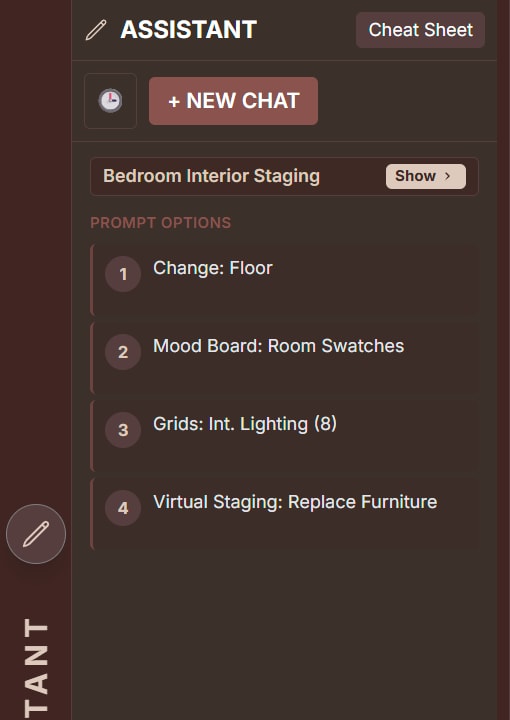
Step 1 — Swap the floor
Name the exact finish. Keep walls and camera fixed.
Example: White Oak Flooring
Prompt
Maintain the exact structural integrity and perspective of the original image. Change floor to WIDE-PLANK NATURAL WHITE OAK WITH A MATTE WIRE-BRUSHED FINISH. Ensure texture mapping and seams align perfectly with the room’s vanishing points. Walls and architectural details must remain immutable. Output must be photorealistic with accurate contact shadows.Prefer wood-only or tile-only sheets? See Wood Floors and Tile Floors.
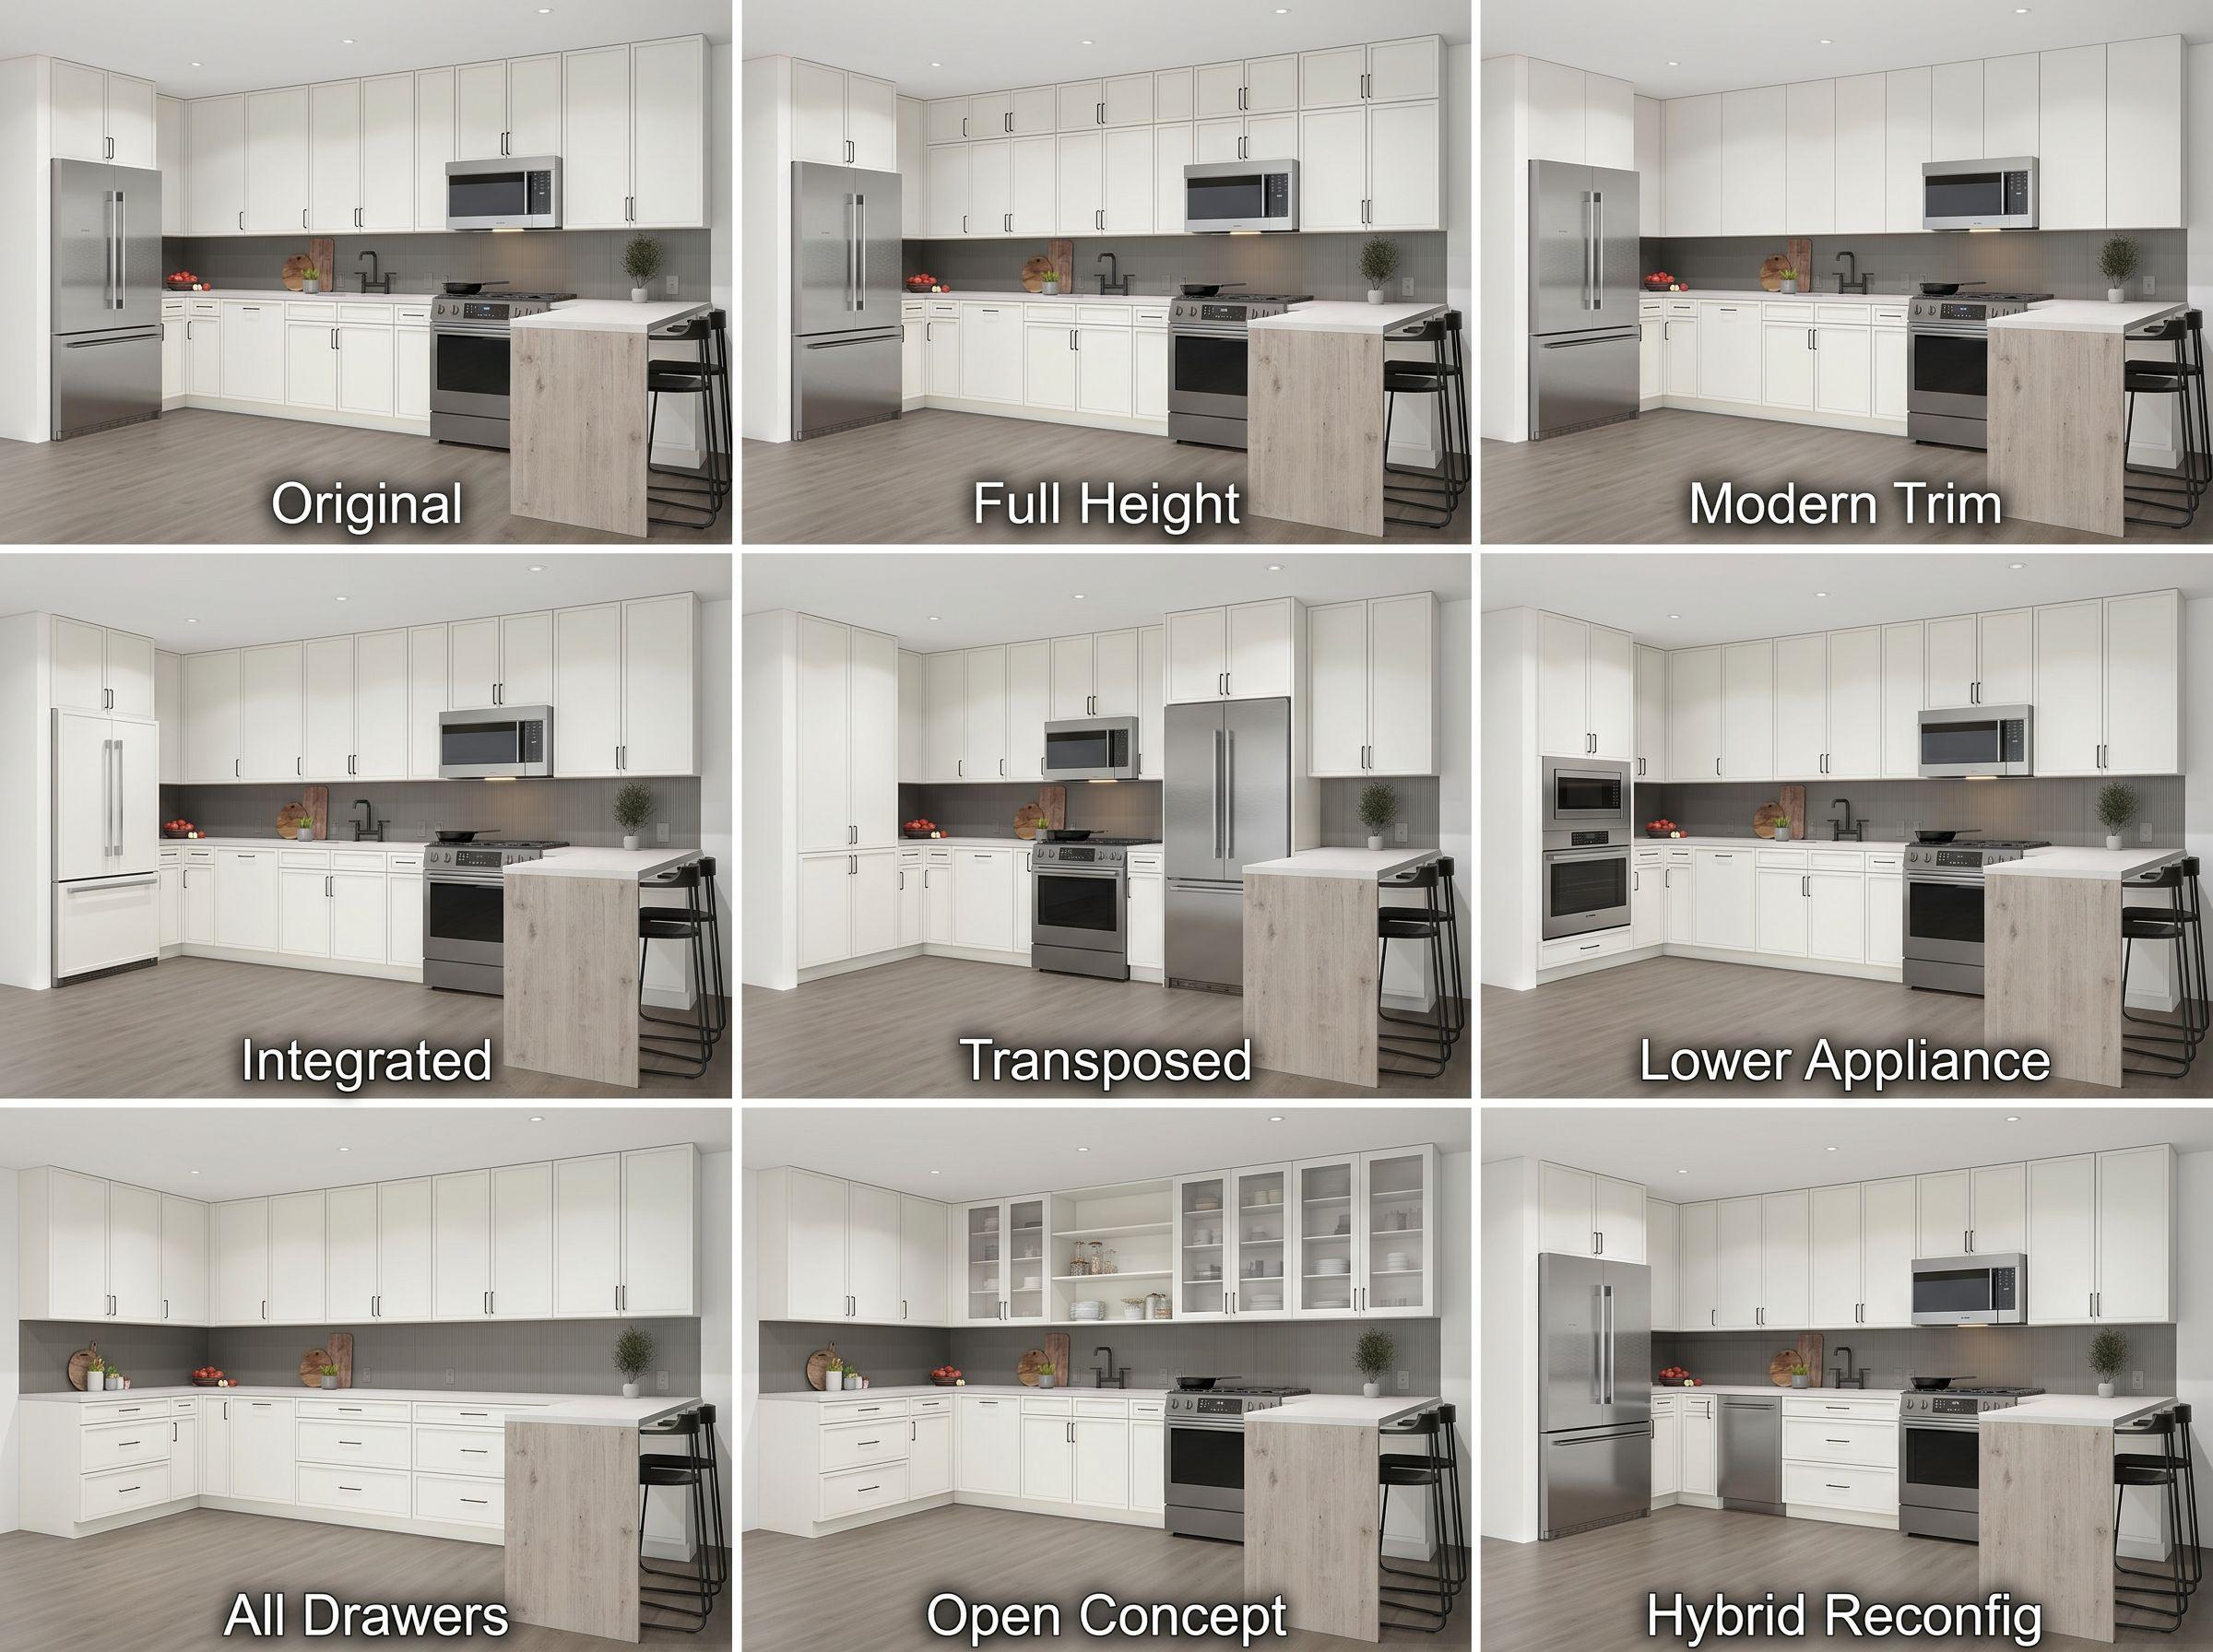
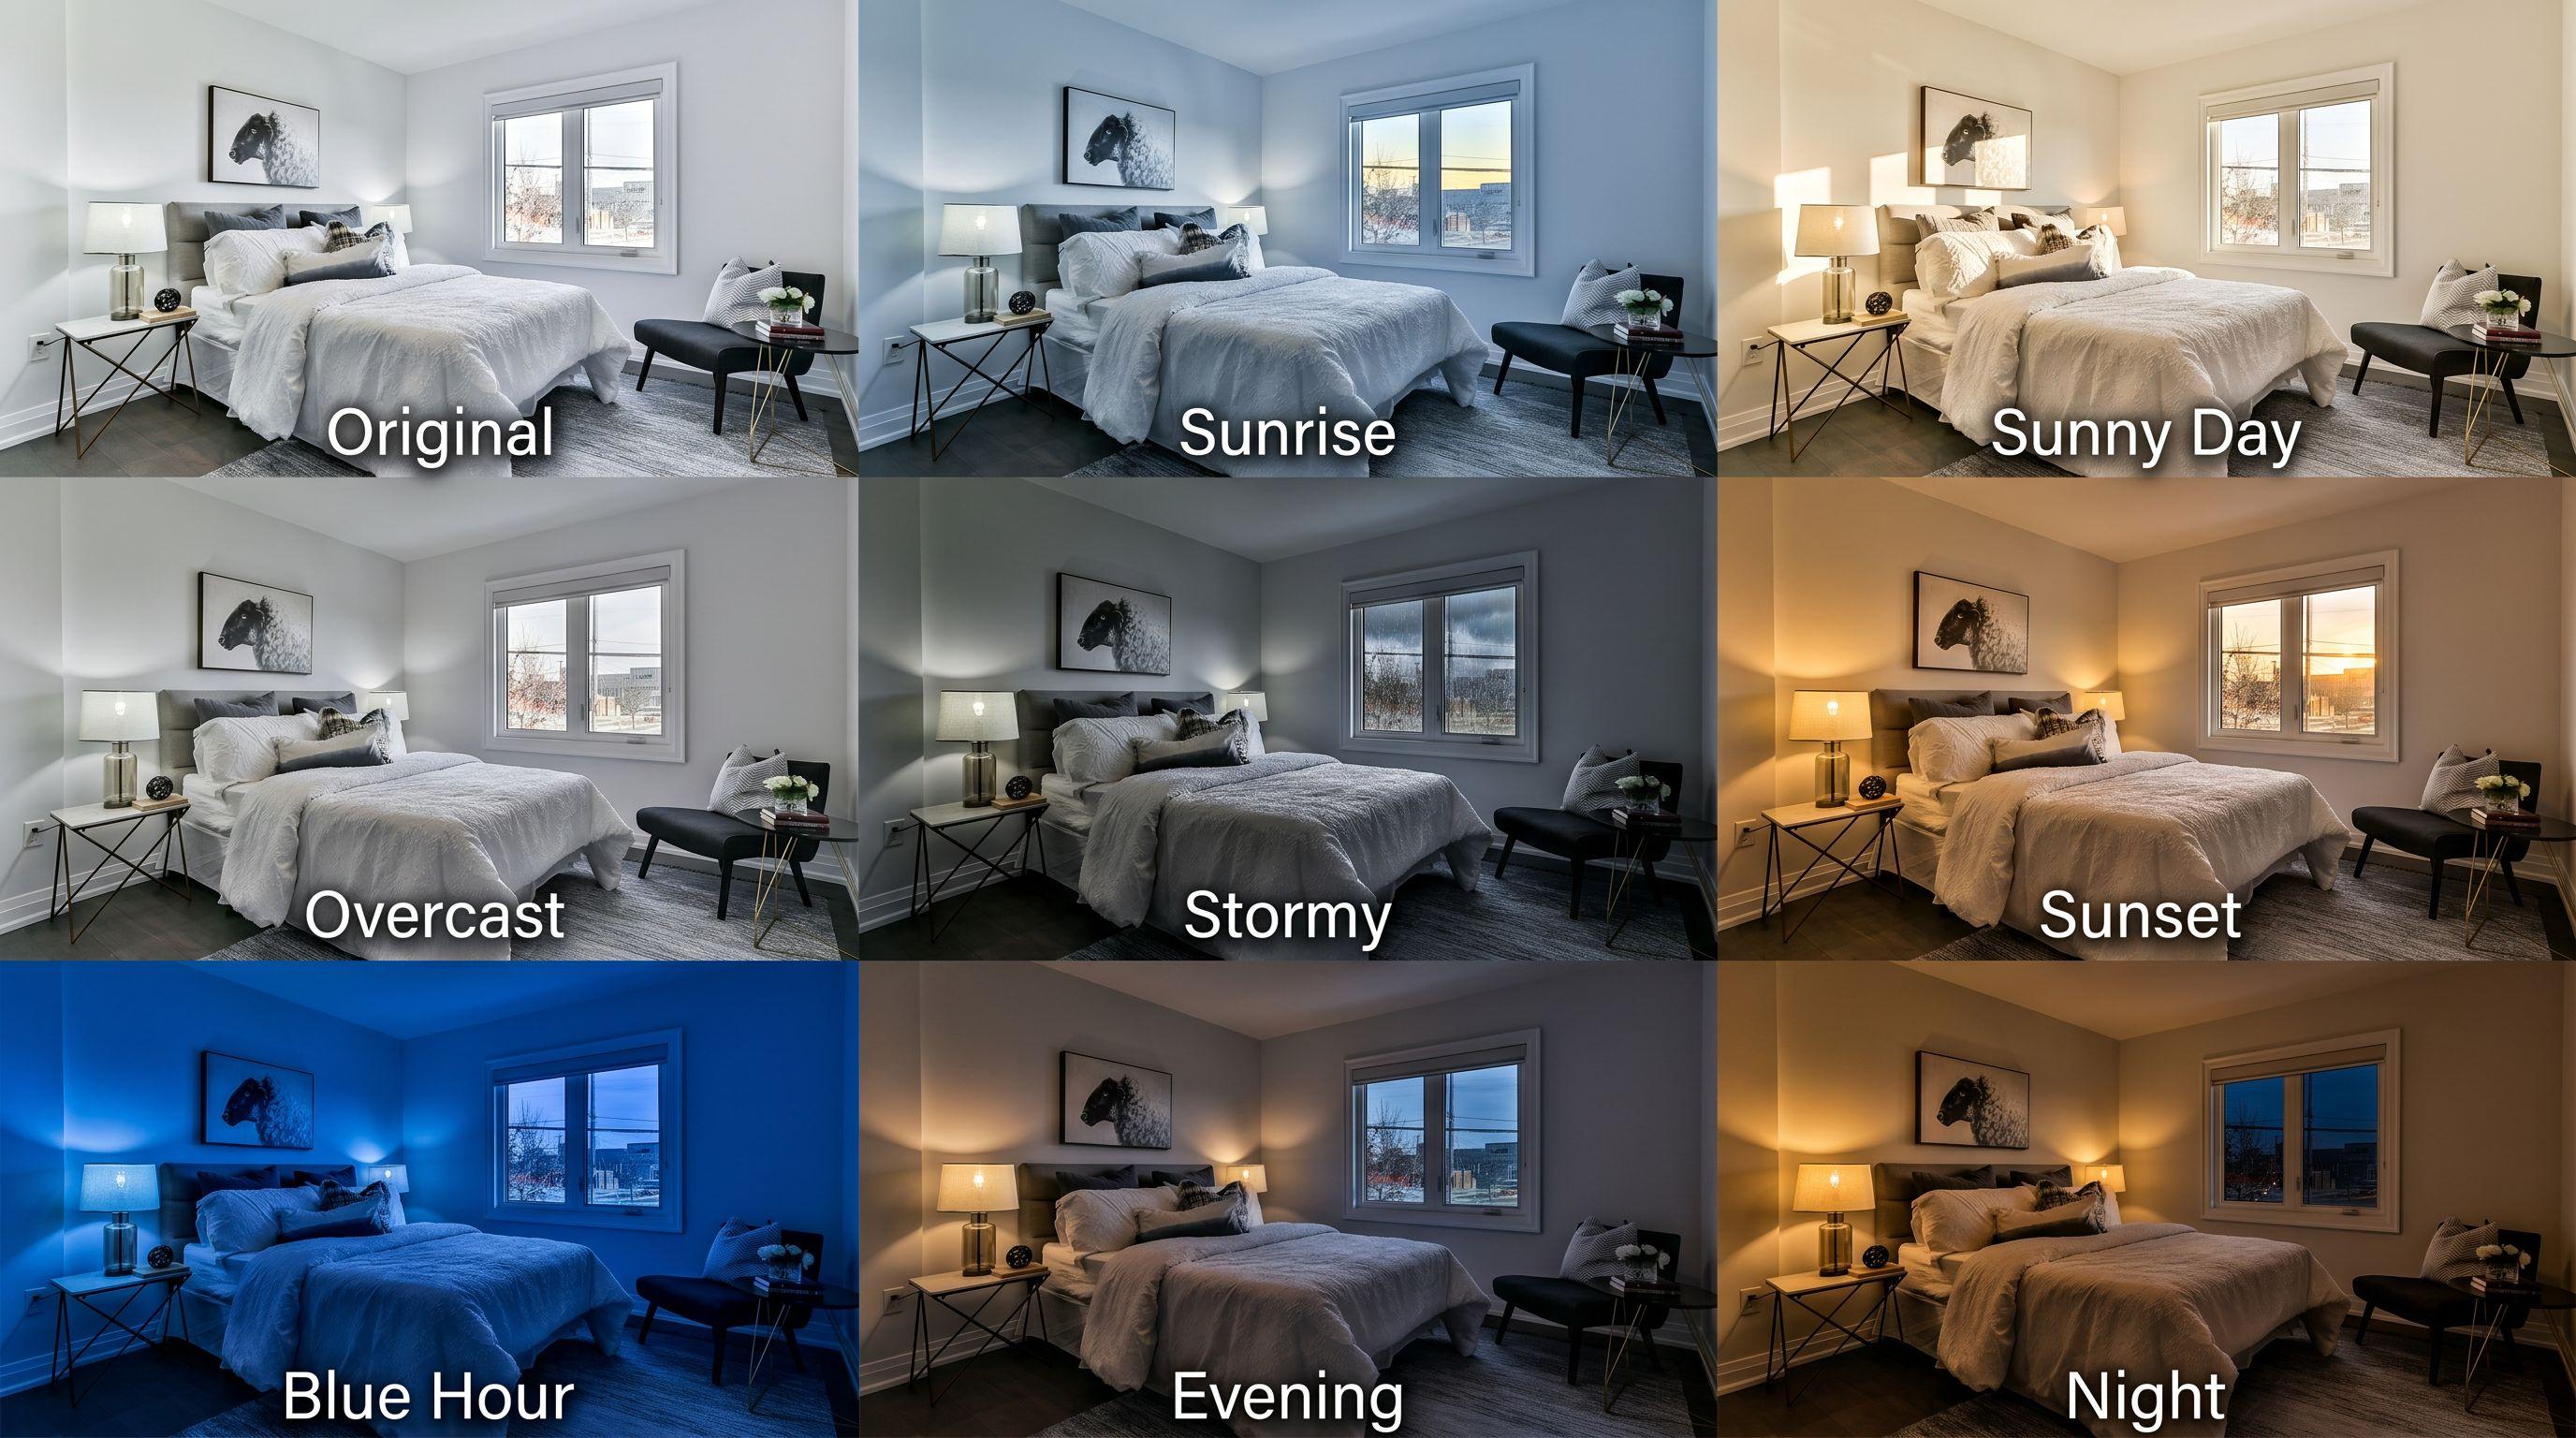
Explore cabinets & lighting
After a floor swap—or on a kitchen/living photo—run finish grids and Enhance the panel you like.
Examples: Cabinet Types · Interior Lighting
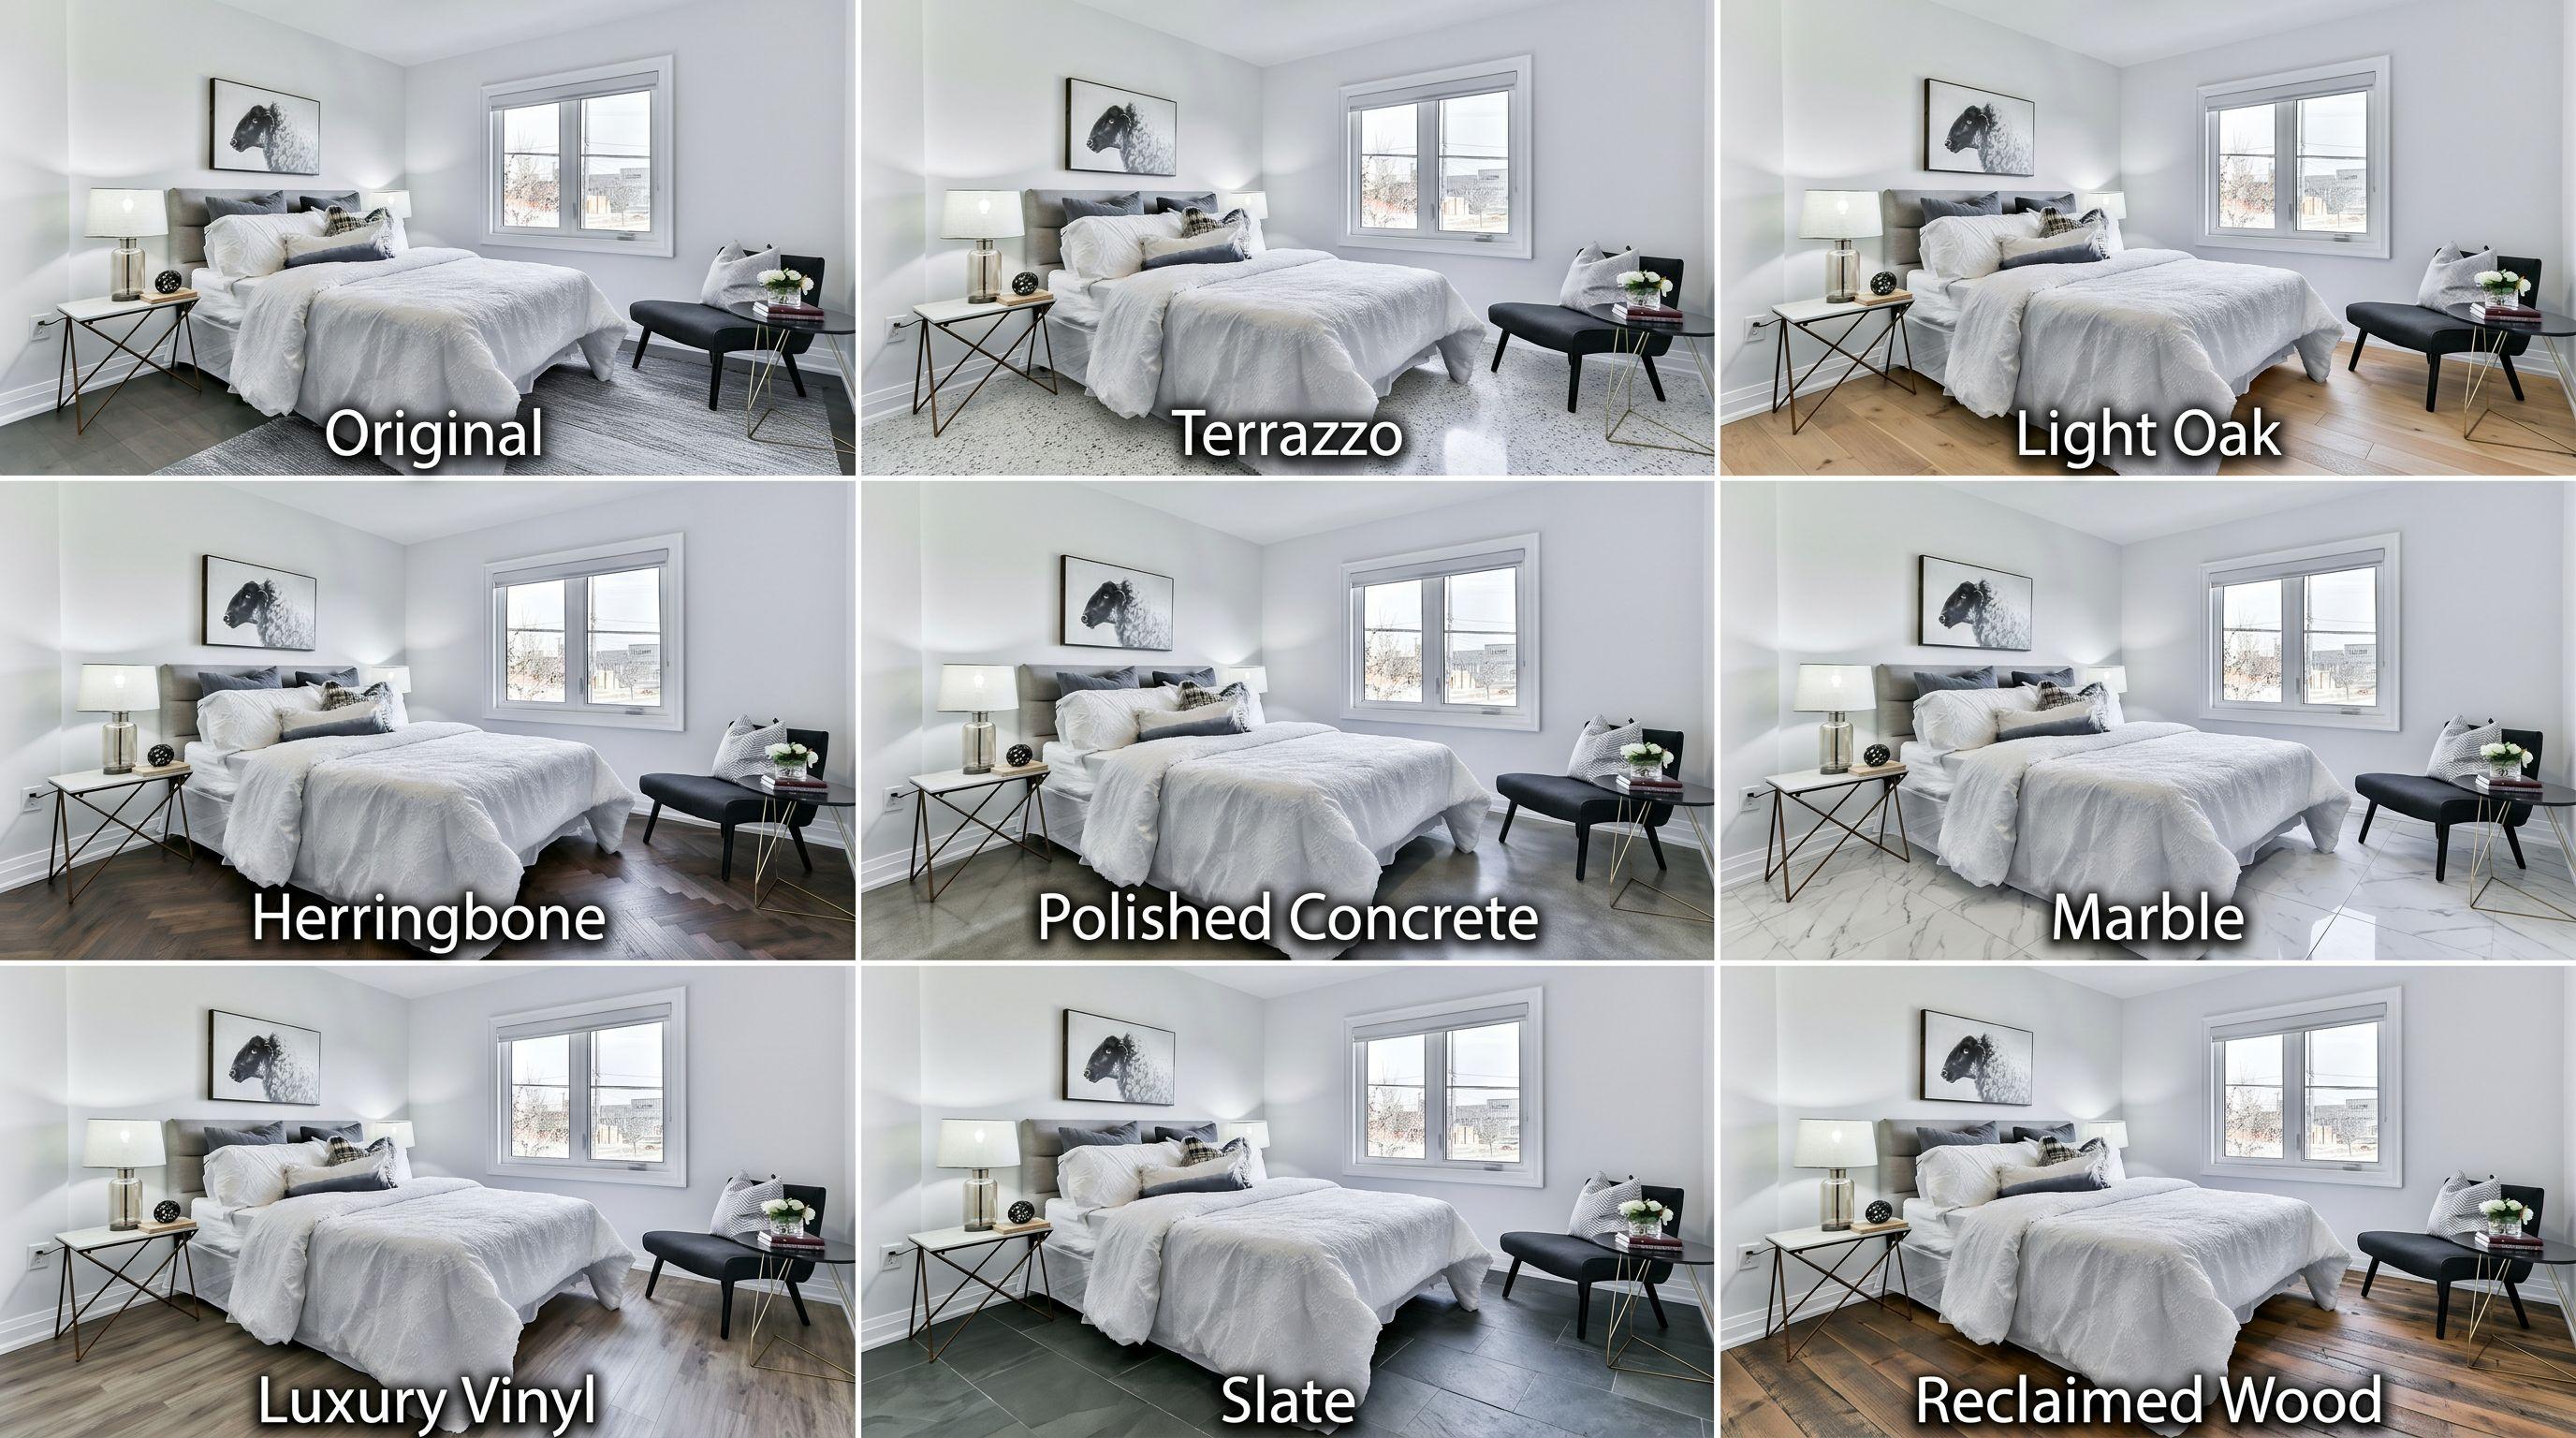
Go Further: Compare flooring styles
Run a Flooring Styles grid to see mixed floor options side by side—then Enhance the panel you like.
Grids are only available in EDIT. Find them via the Assistant Cheat Sheet, or click Grids above the main prompt area:

Example: Flooring Styles
More guides
Same app—different job:
- Virtual staging — furniture and style for empty rooms
- Mood boards & Room Angles — option sheets before you commit
Browse every how-to with previews: All guides.
Try finishes before you remodel.
Try EDIT free — no credit card.